
The Art of Hand-Building Pottery: A Beginners Guide to Coiling
There’s something deeply grounding about shaping clay with your hands. Among the many techniques in pottery, coiling stands out as one of the oldest and most expressive forms of hand-building. It requires minimal tools, invites creativity, and connects makers to a tradition that dates back thousands of years.
What is Coiling?
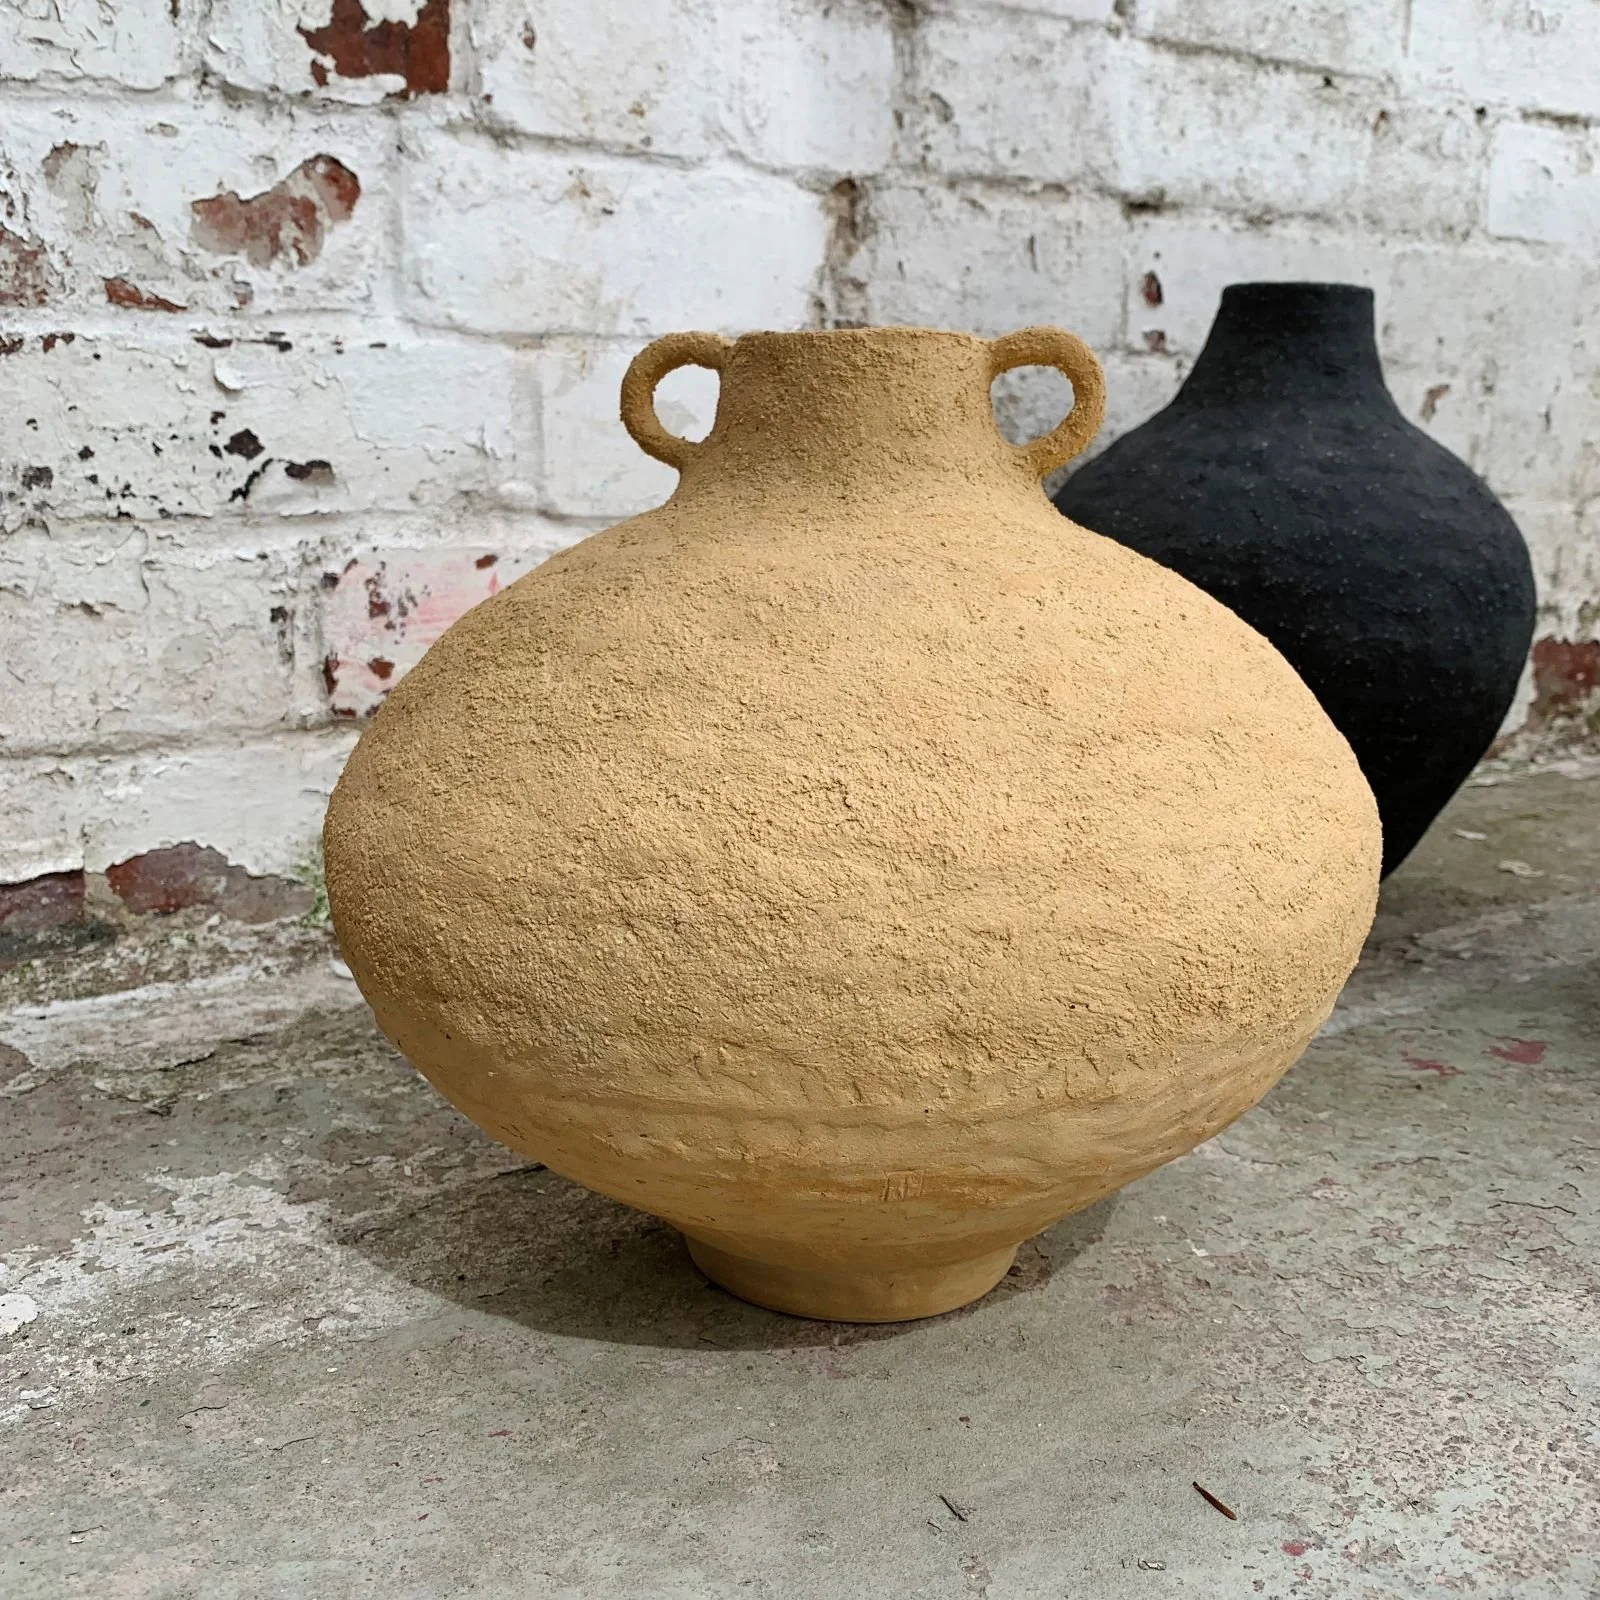
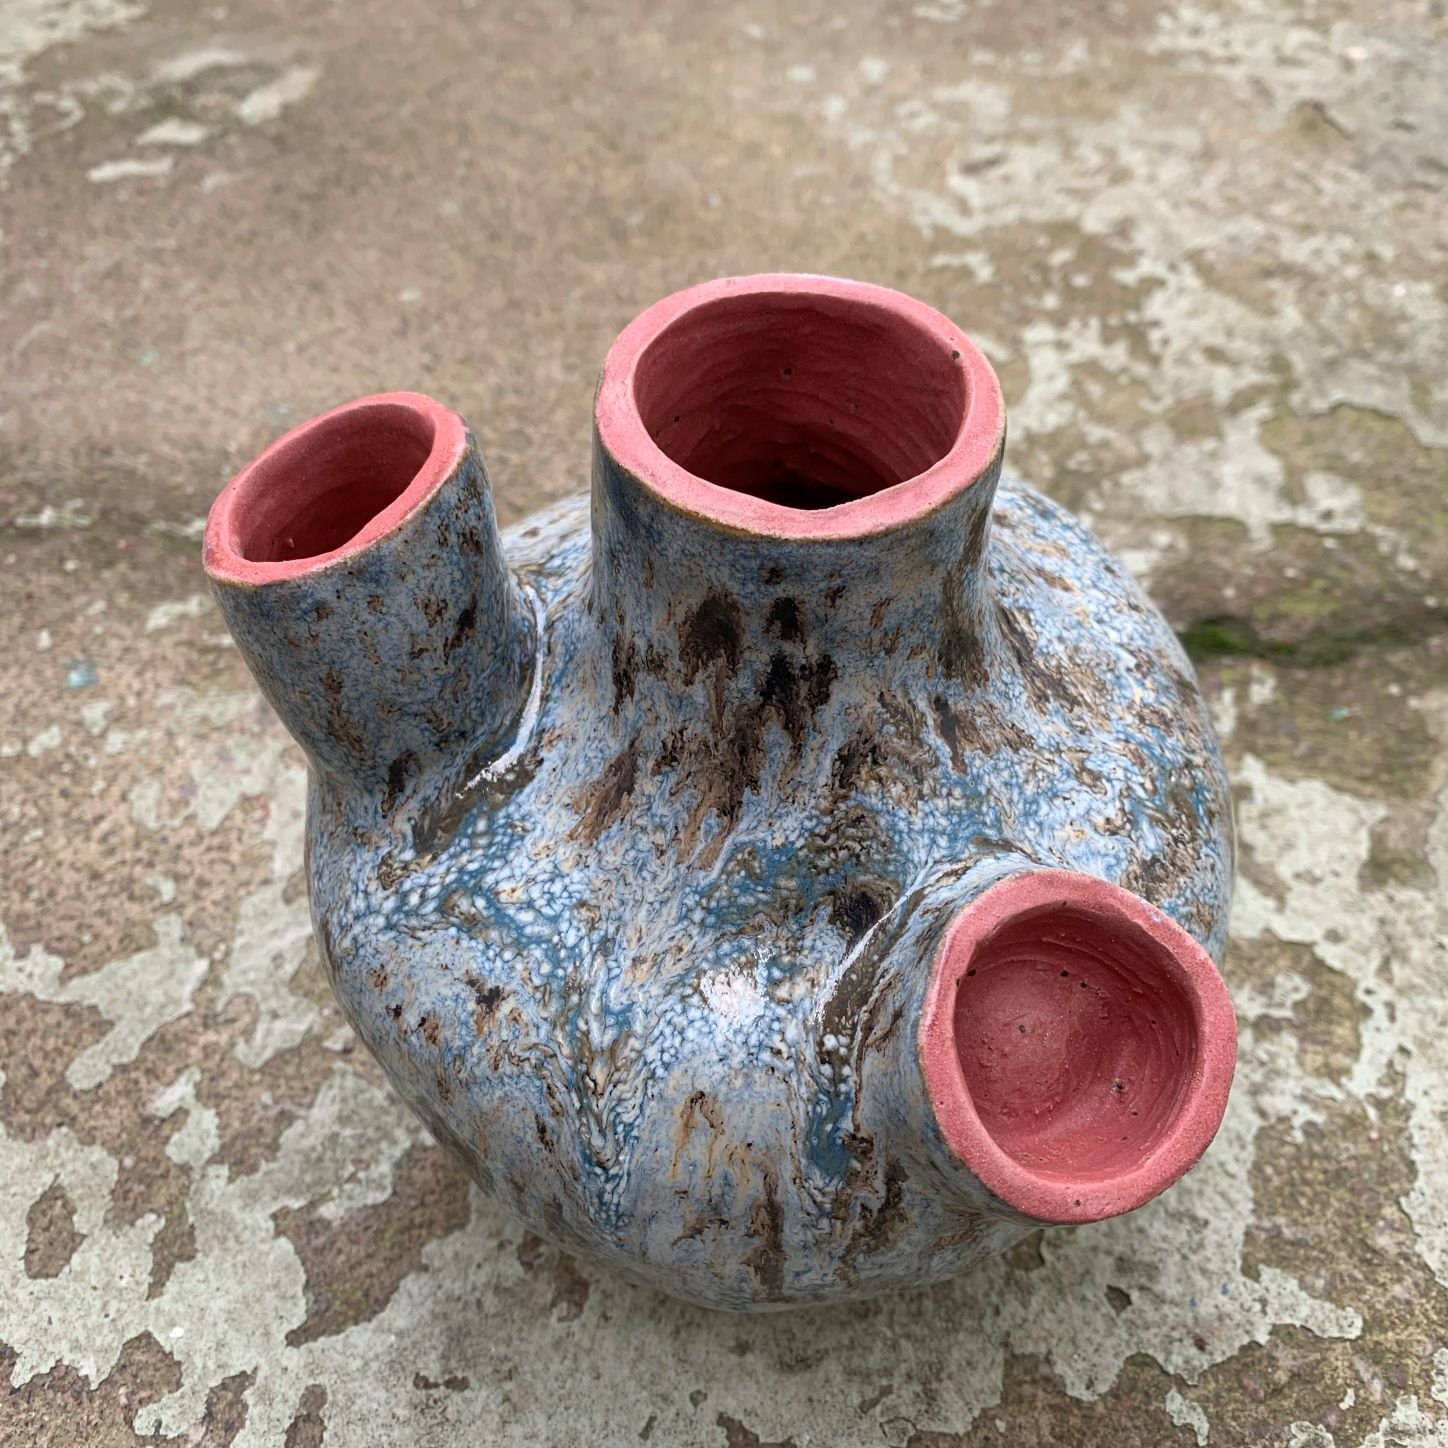
Coiling is a pottery technique where long, rope-like rolls of clay—called coils—are stacked and joined together to build forms. From simple bowls to intricate sculptural vessels, coiling allows for both structure and freedom. Unlike wheel throwing, coiling is slower and more tactile, giving you time to truly engage with the material. This means it’s a great creative experience to do with your family or friends her in Sheffield.
Why Choose Coiling?
Coiling is perfect for beginners and experienced potters alike. Here’s why:
Accessible: No wheel required—just clay, your hands, and a few basic tools.
Flexible: Create organic, asymmetrical, or highly structured shapes.
Mindful: The repetitive motion of rolling coils can be calming and meditative.
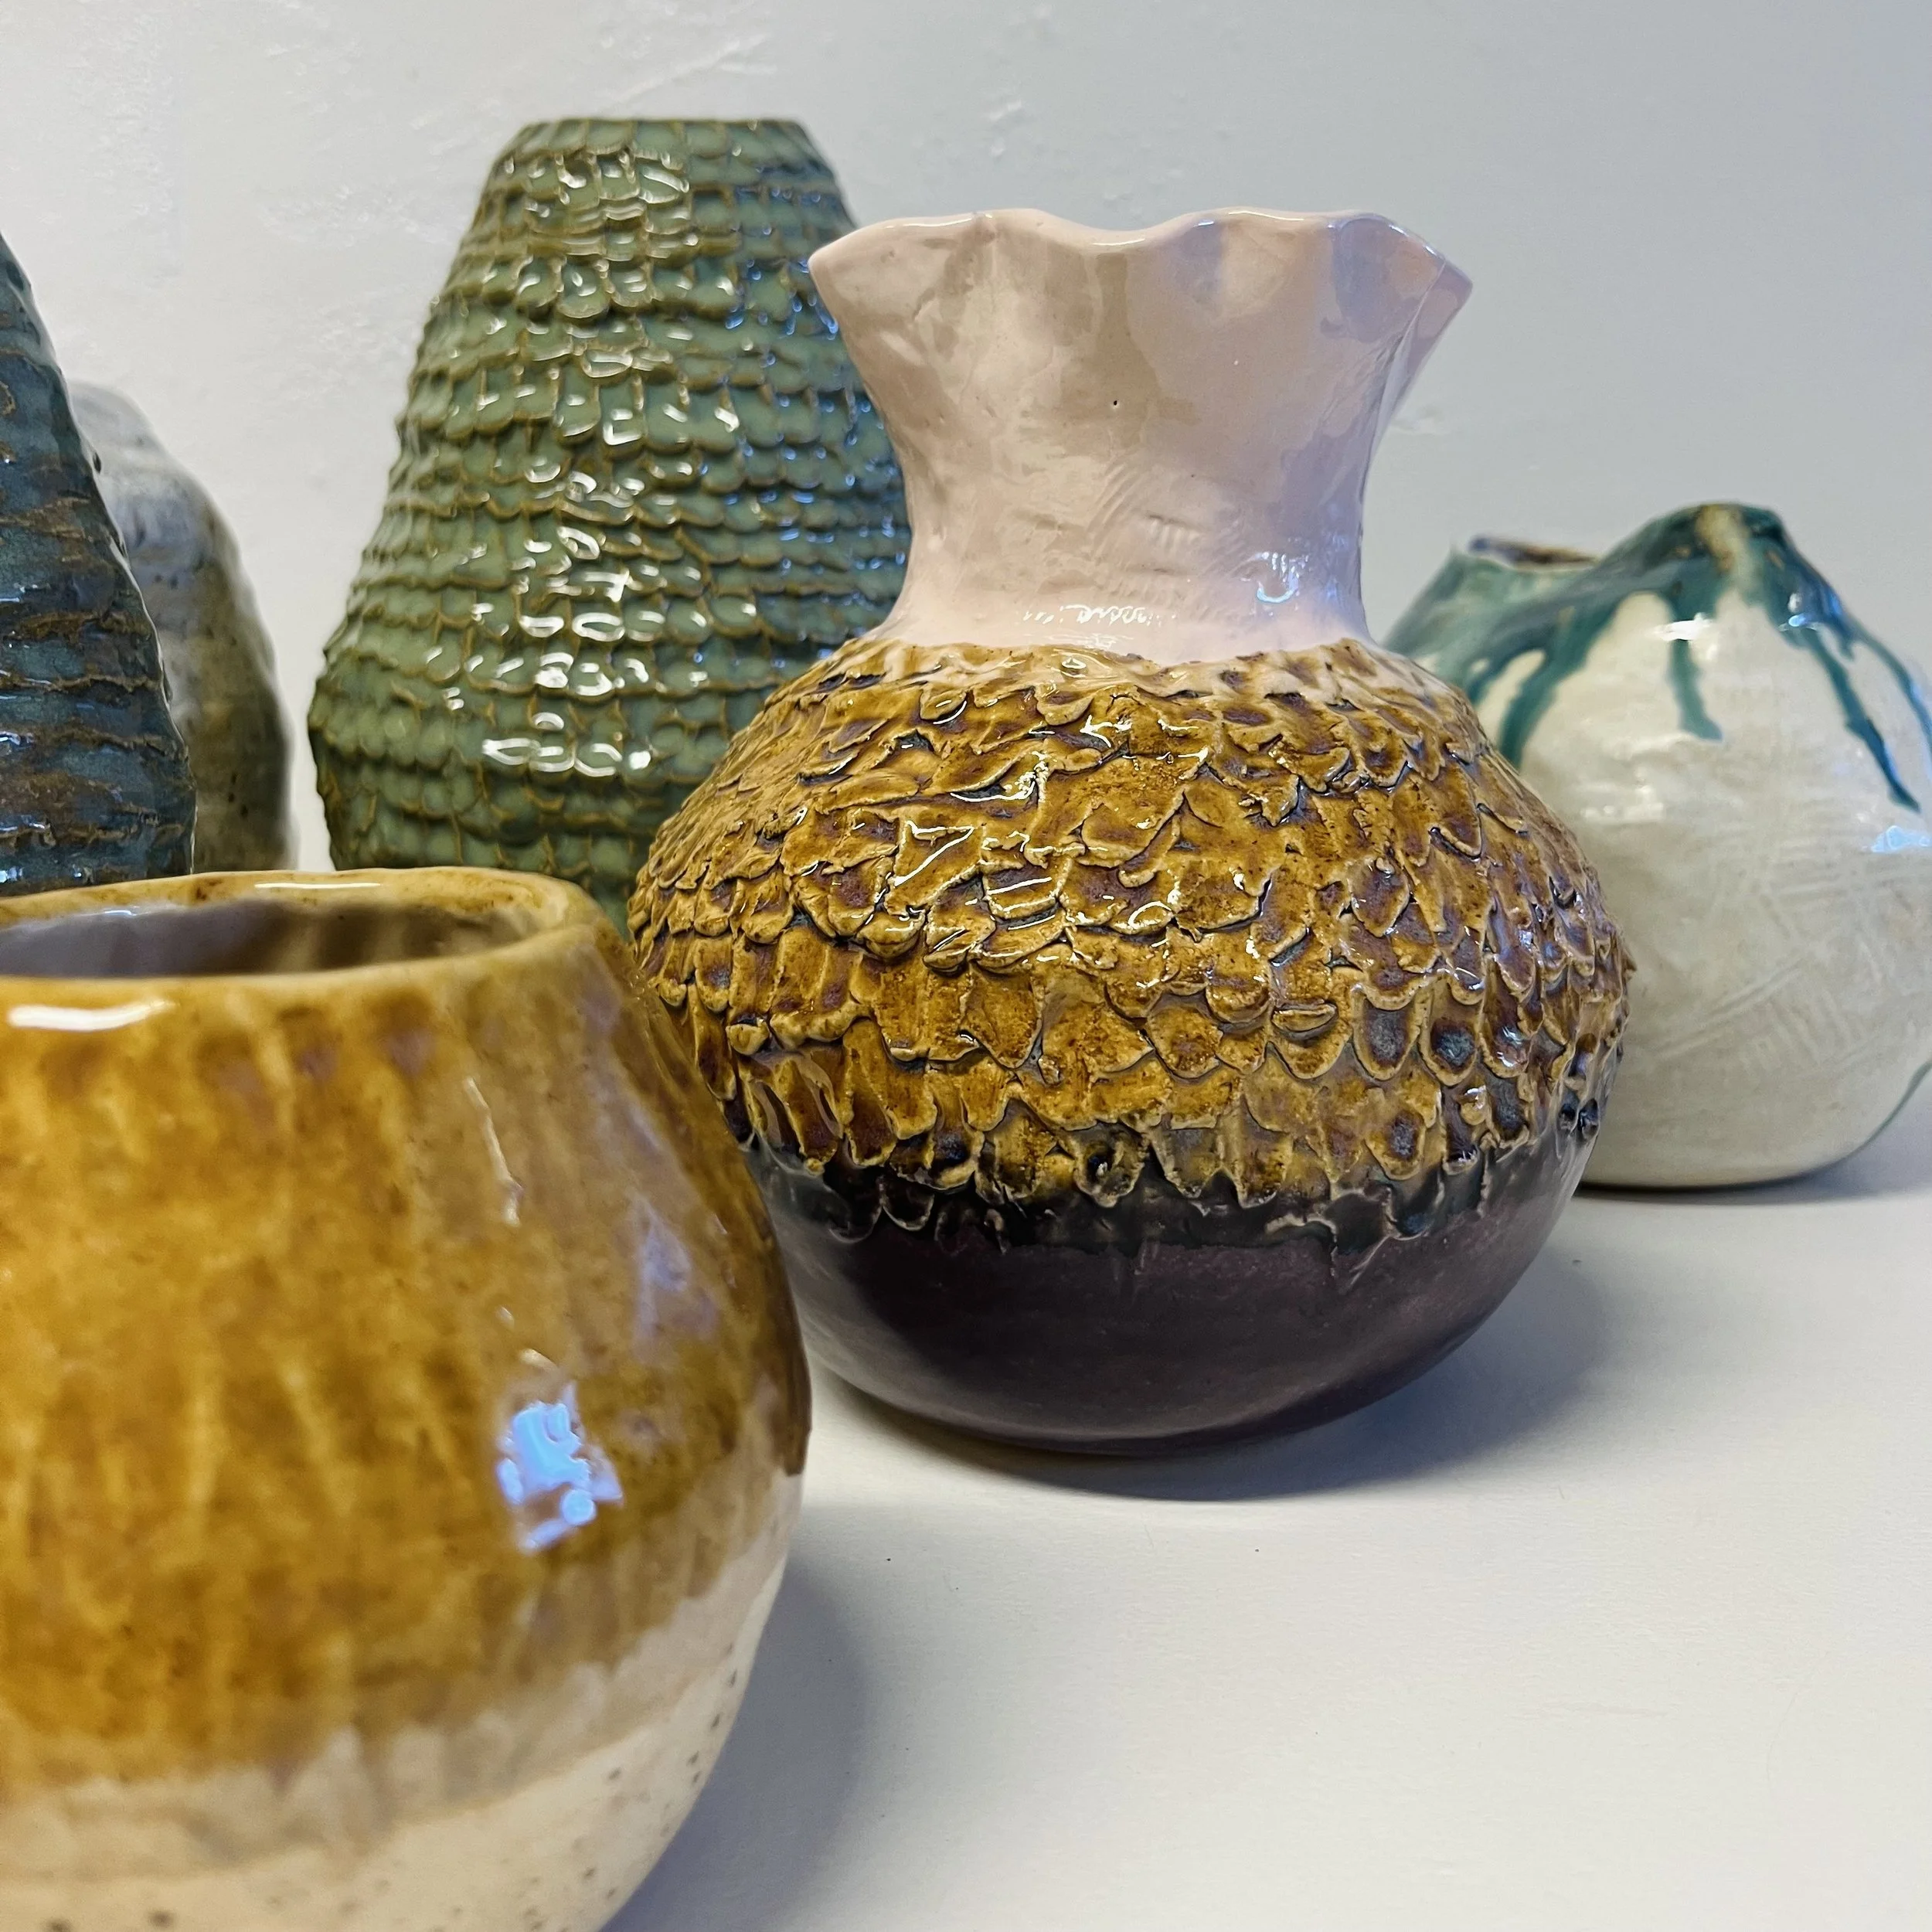
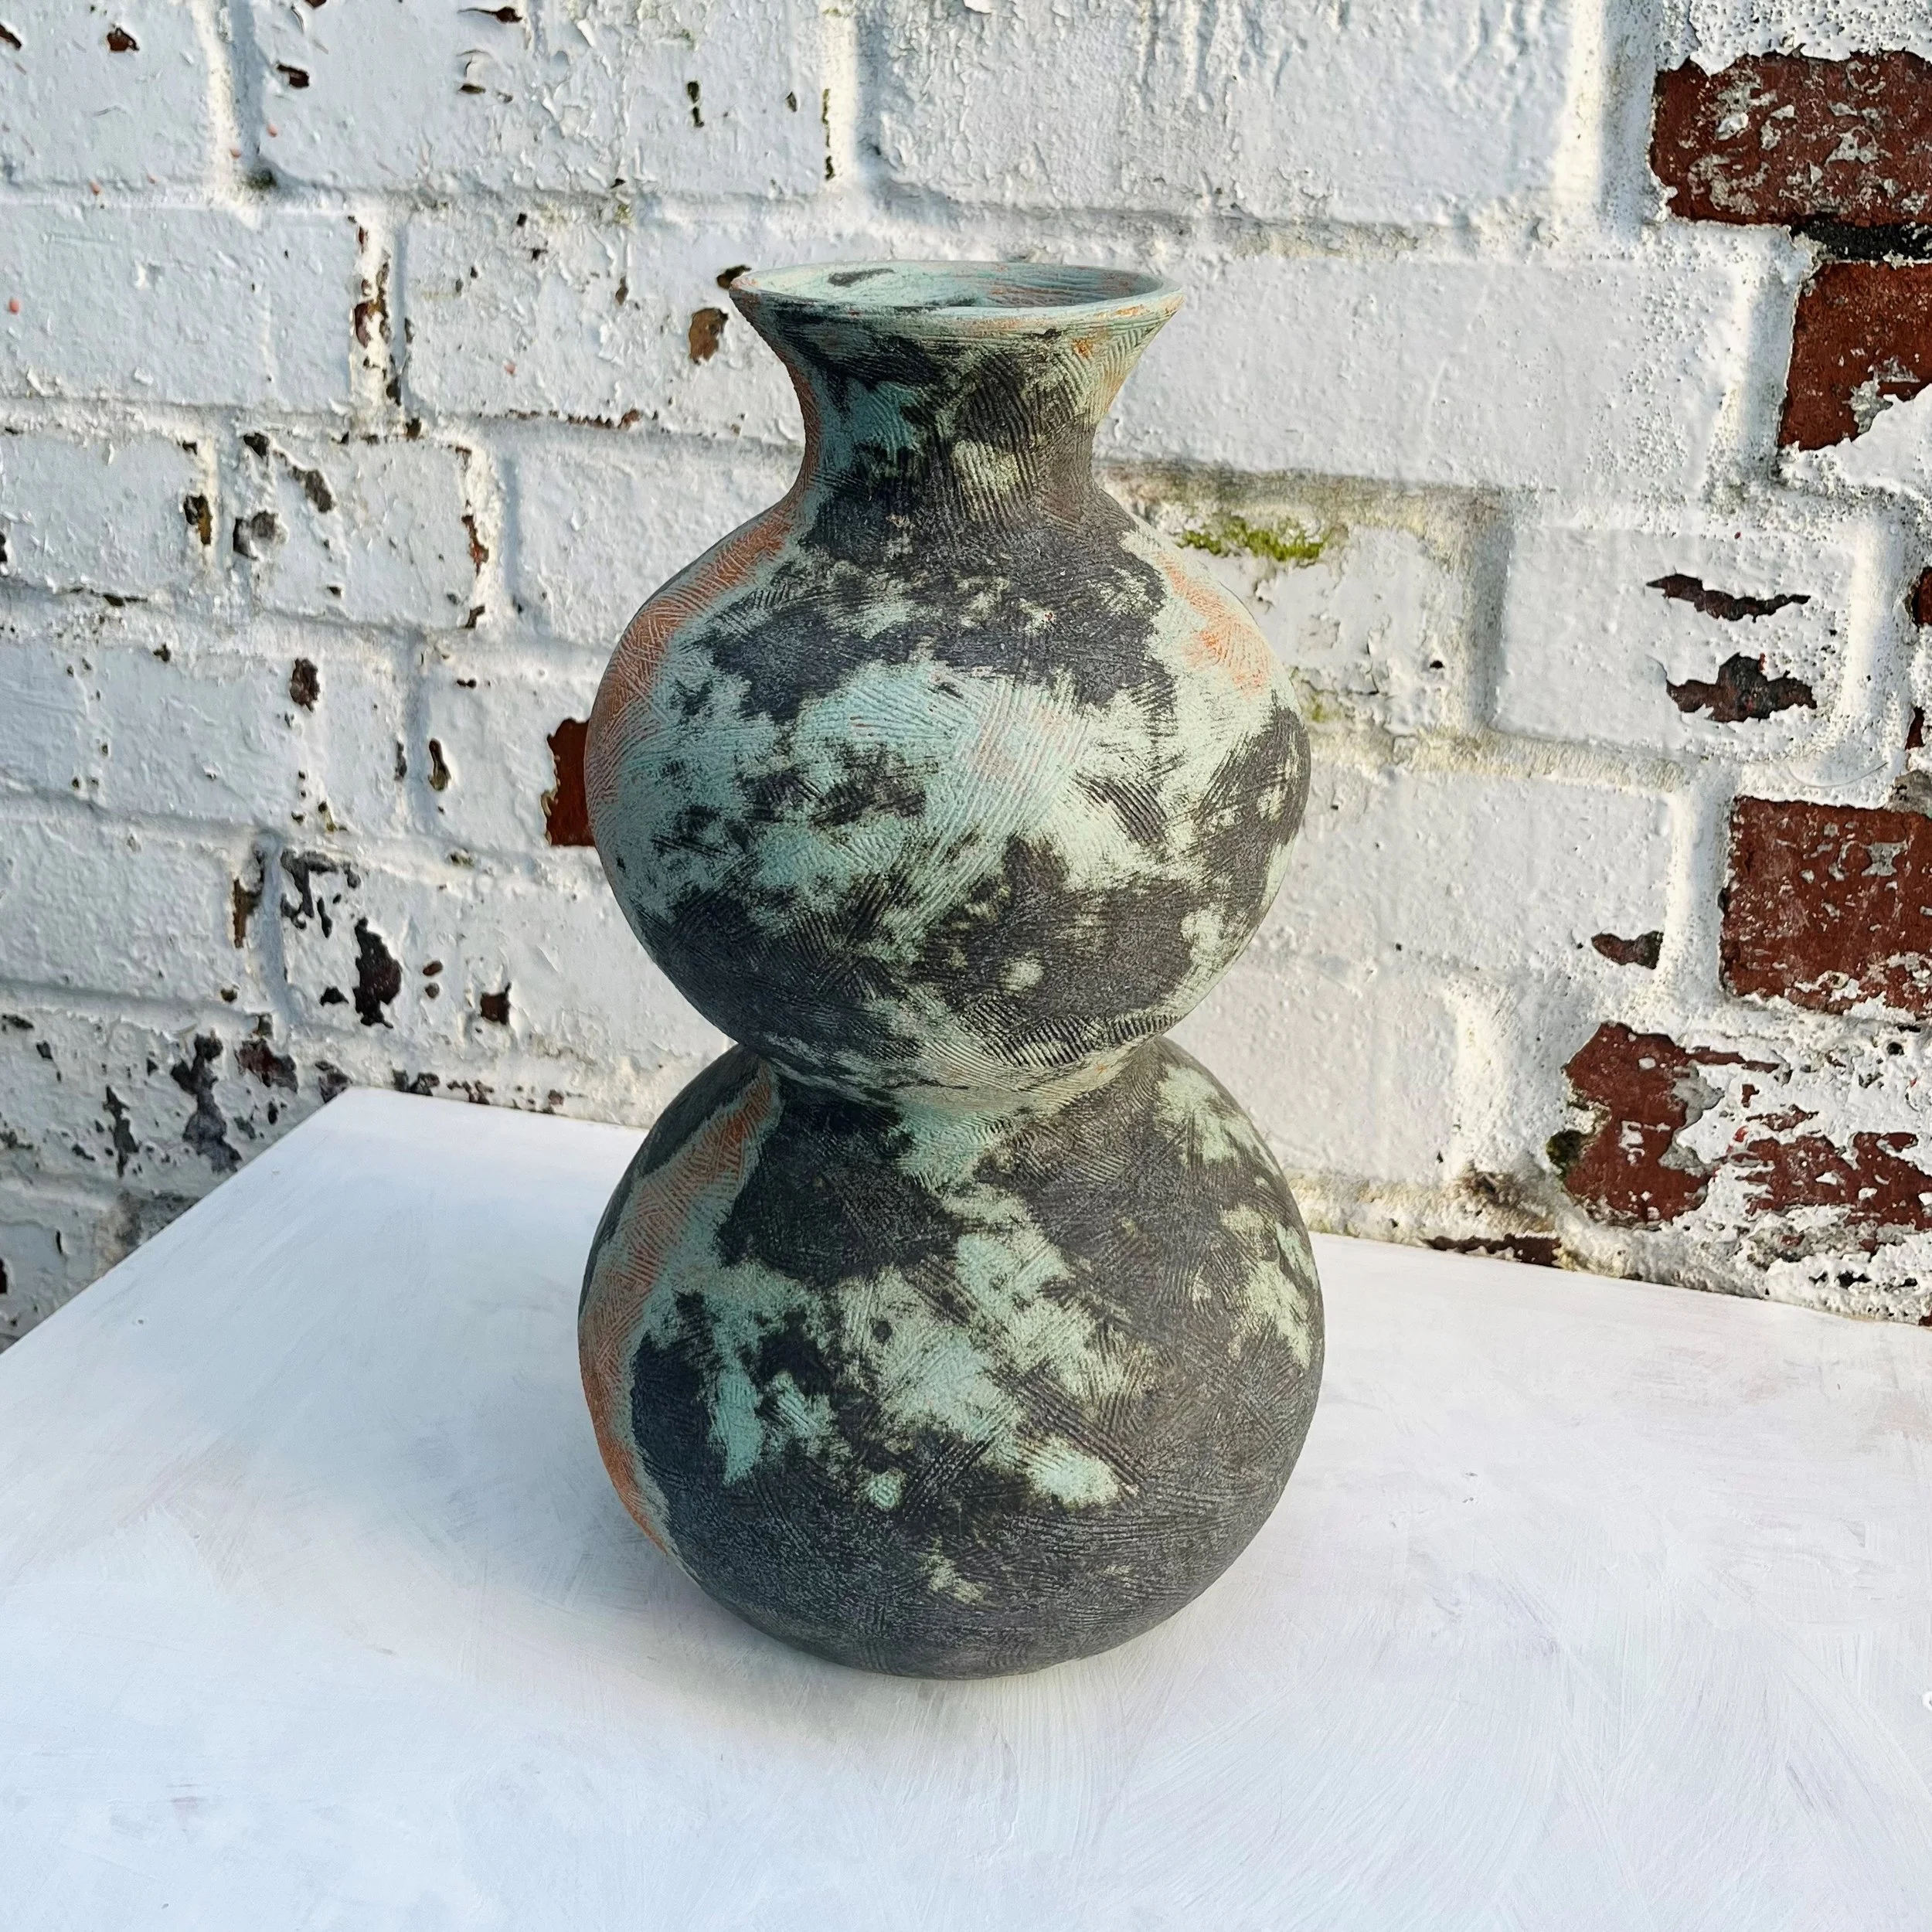
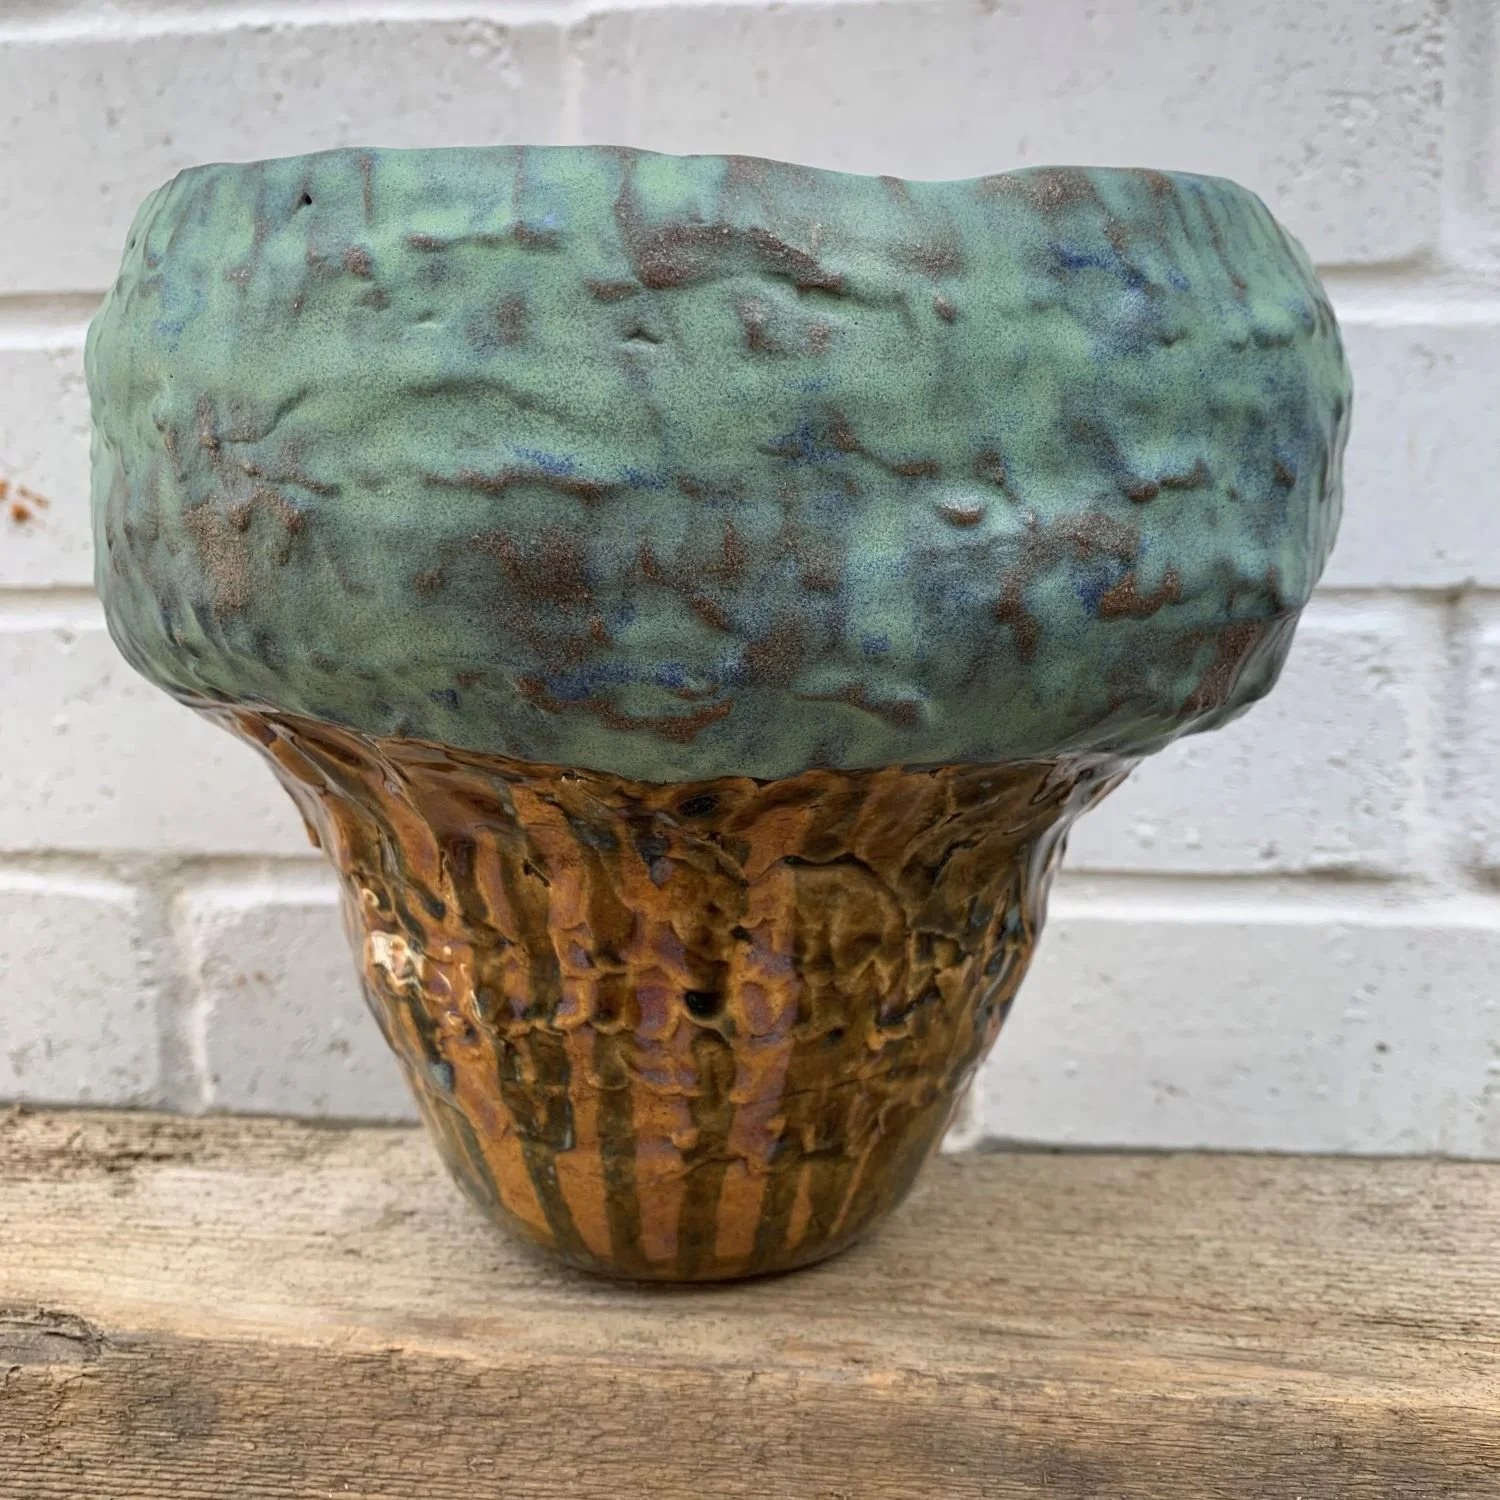
Creative Freedom: Add texture, patterns, or even sculptural elements as you build.
Start by forming a base—either a flat slab, pinch pot or around a bowl. Then roll out coils of even thickness. Consistency is key here; uneven coils can lead to structural weaknesses.
Building Your Form
Layer your coils one at a time, scoring and applying water between the first few layers to ensure they bond securely (After this there should be enough moisture in the clay to hold everything together). As you build upward, gently blend the coils together using your fingers or a tool. You can leave the coils visible for a textured look or smooth them out for a seamless finish.
Take your time. Coiling is not about speed—it’s about intention.
Shaping and Refining
As your piece grows, you can shape it by adjusting the placement of coils:
Stack directly for straight walls
Place coils slightly inward to narrow the form
Extend outward for a wider shape
Once your form is complete, refine the surface. Smooth with a rib tool, add decorative marks, or carve patterns. This is where your personal style really comes through.

Drying and Firing
Let your piece dry slowly to avoid cracking. Cover it loosely with plastic if needed. Once fully dry (bone dry), it’s ready for bisque firing. After that, you can glaze and fire again to complete your piece.
Embracing Imperfection
One of the most beautiful aspects of coiling is its handmade quality. Slight irregularities are not flaws—they’re part of the story. Each fingerprint, each curve, reflects the maker’s touch.
Final Thoughts
Coiling invites you to slow down and connect—with the clay, the process, and yourself. Whether you’re creating your first bowl or an elaborate sculptural form, the journey is just as meaningful as the finished piece.
Ready to Try It Yourself?
Whether you're a complete beginner or looking to deepen your skills, there’s no better time to start exploring hand-building.
Join one of our beginner-friendly classes in Sheffield, a coiling pottery workshop, book a studio session, or get in touch to learn more.
Let’s create something beautiful—together.
23/03/2026